Staging A Halloween Photo Booth Using Repurposed Lamps As Candlesticks
It has been a busy couple of weeks around here. Between recovering from an upper respiratory infection, our high school’s homecoming week, and getting our house ready for Halloween, we have not stopped! I’d be lying if I said it hasn’t taken a toll on me. The older I get, the more I realize just how important rest is to my ability to keep going. While my mind wants (and tries) to go 100 miles an hour, I’m learning I have to force myself to slow down because my body simply can’t keep up. While frustrating at times, I try to remind myself that rest is recovery and a vital part of taking care of myself and my mental health. So, though I am taking this week to recuperate and do a few things for me, myself and I, I thought I’d still jump on here and share another one of our “trash-to-treasure” transformations.
Repurposing Lamps Into Candlesticks
This post may contain affiliate links which simply means I receive a small portion of the proceeds from goods purchased through my site but at no extra charge to you.
Though I am not a photographer, I have ALWAYS wanted to put together and style a photo booth for others to use. I don’t know why, it’s just something I’ve always wanted to do. My pie-in-the-sky dream is that one day we’ll own some land and I’ll be able to set up these opportunistic photo booths for families to use and enjoy throughout the different holiday seasons. But, since that idea is still just a dream, I figure why not go ahead and do what I want to do here and now? So, that’s what I’m doing.
Thankfully I had a few pieces of my own to start with, but knew I still needed some additional goodies to help set the scene. So, I headed out—once again—to goodwill. This time, instead of looking for various sized jars to make apothecary bottles, I was searching for old lamps! I didn’t know exactly how I’d use the lamps only that I wanted an odd number of them and I wanted them to vary in size. After playing around with several of our local store’s lamps (and rearranging their shelves multiple times! Ha!), I landed on 5 lamp bases that were all under $6 each. After bringing them home, my daughter and I disassembled each lamp, pulled out the electrical cords and corresponding junction box (or whatever it’s called), re-assembled the lamps and then painted them (again using Rustoleum chalk paint). Being that this was the first time I had taken a lamp base apart, it took us a bit more time and patience. But, together we endured to the end, learned a bit about the inside of a lamp, and ended up with some pretty cool photo booth props for our Halloween photo booth backdrop.
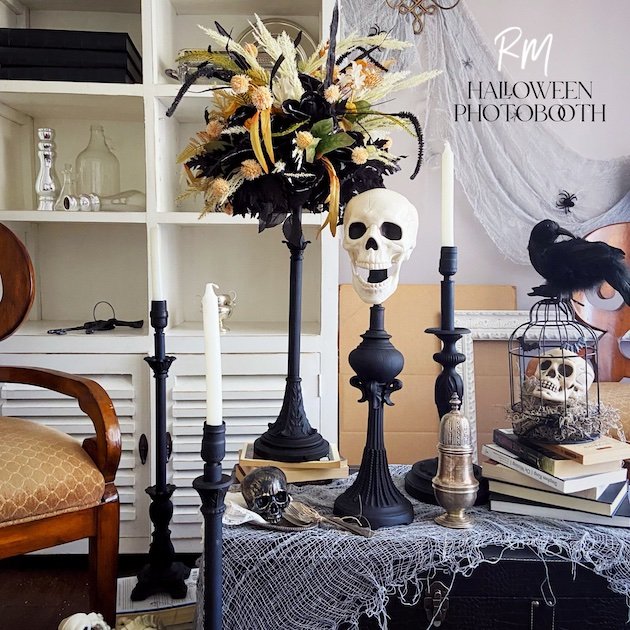
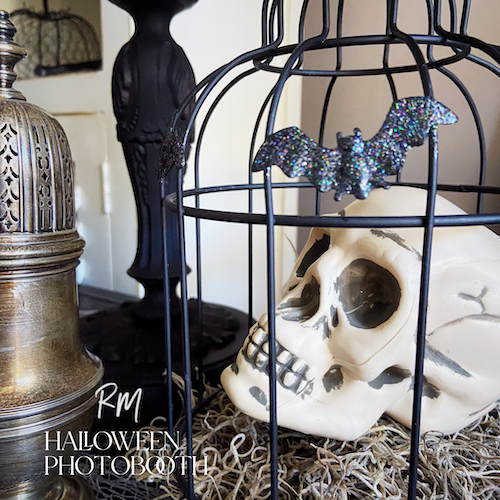
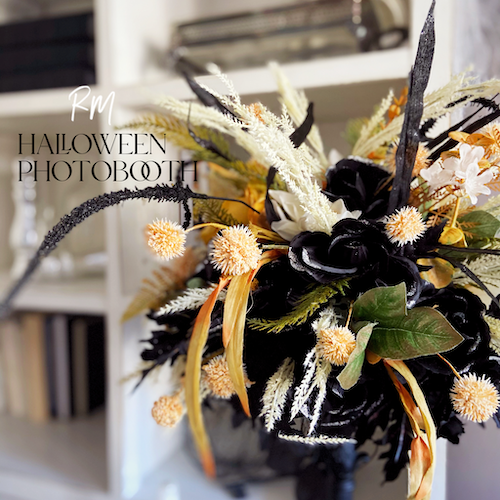
While most of our lamp bases were turned into candlestick holders—for LED tapers—I did take one and turn it into a floral base, which I think turned out so cool! I did this by hot glueing a half sphere floral foam piece to the top of the lamp base and then I used faux florals to cover the foam. It’s the perfect touch of gothic elegance for our vintage-styled halloween decor. I’m debating taking one more of the bases and attaching another skull head to the top of it, just to give it a bit of something different. Lord knows, I’ll continue playing with this set up until the end of October because that’s simply how I am. While I’m a recovering perfectionist, it still comes out in full swing when I’m in the creative zone! I’ve decided it’s okay though in that realm. Ha! All in all though, I love how versatile these repurposed lamp bases are and how they turned out.
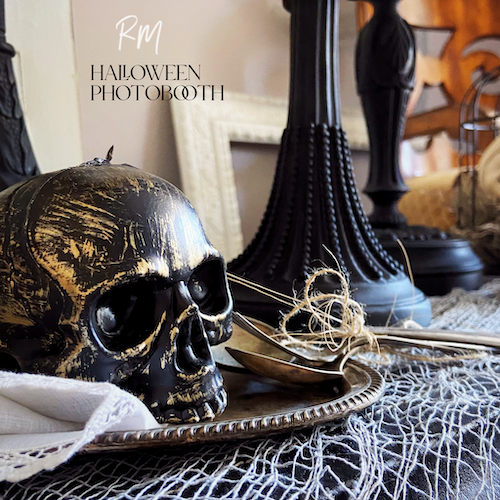
For those who think that decorating for the holidays requires a lot of money, let me tell you that most everything seen here is either from goodwill, the dollar store, or are items I had around the house and simply repurposed and staged them so they would work. For example, the black encyclopedia looking books are actually our family photo books that I simply moved to these shelves because I needed to offset the black of the trunk that is on the floor level. The other books on the white shelving are just books we have here at the house. Knowing they didn’t necessarily match the decor, I turned them backwards so as to only show the pages. As for the silver seen throughout this photo booth, much of it was thrifted. The serving dishes, however, are pieces we had here at the house that were passed down to us from an earlier generation. As for the black trunk, I already had that, so that was helpful. But otherwise, it just takes a bit of time and thinking outside the box to put together a fun halloween backdrop that can be used for pictures. I hope this is helpful and spurs some inspiration for you as we move into Halloween and beyond!
Until next time, happy decorating!
